How to use Python Script in AIV
This document contains information on how to setup jupyter notebook server in docker and connect with AIV application to run server script in python language to fetch data in dataset.
Python script can be called from server script as well as in predict option available in widets.
Know more on how to use python prediction model in dashboard Click Here
To run python server script we just need jupyter python kernel and in jupyter you can setup 100+ kernel for different langauage
Requirements
Jupyter Notebook
System space: 4 GB
Sample Project Click Here to donwload
In code or docker code Attached in requirements contain two server,
Jupyter with R+python kernel to run server side script. it is used to execute server scripts
Contain just main python file which use python model to predict and find outliers. it is used to execute predict APIs
For the demonstration, we have a python project named aiv_app and we are using docker to deploy this project. Along with this project, we are deploying jupyter server in docker to execute server script.
i). Using sample project
Download sample project files from link provided in Requirements.
Download docker desktop from official docker website. Click here
For windows, follow steps given in this link to setup docker in windows
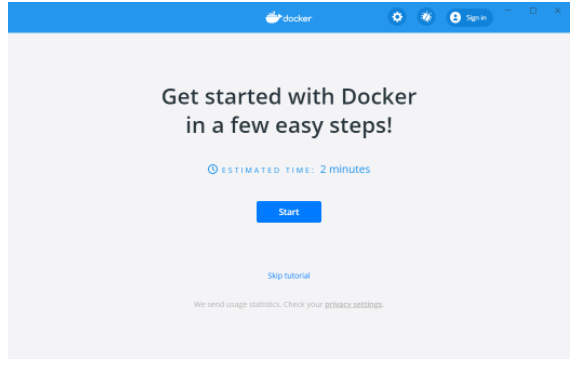
After installation completion, Open docker, you will see home screen as below,
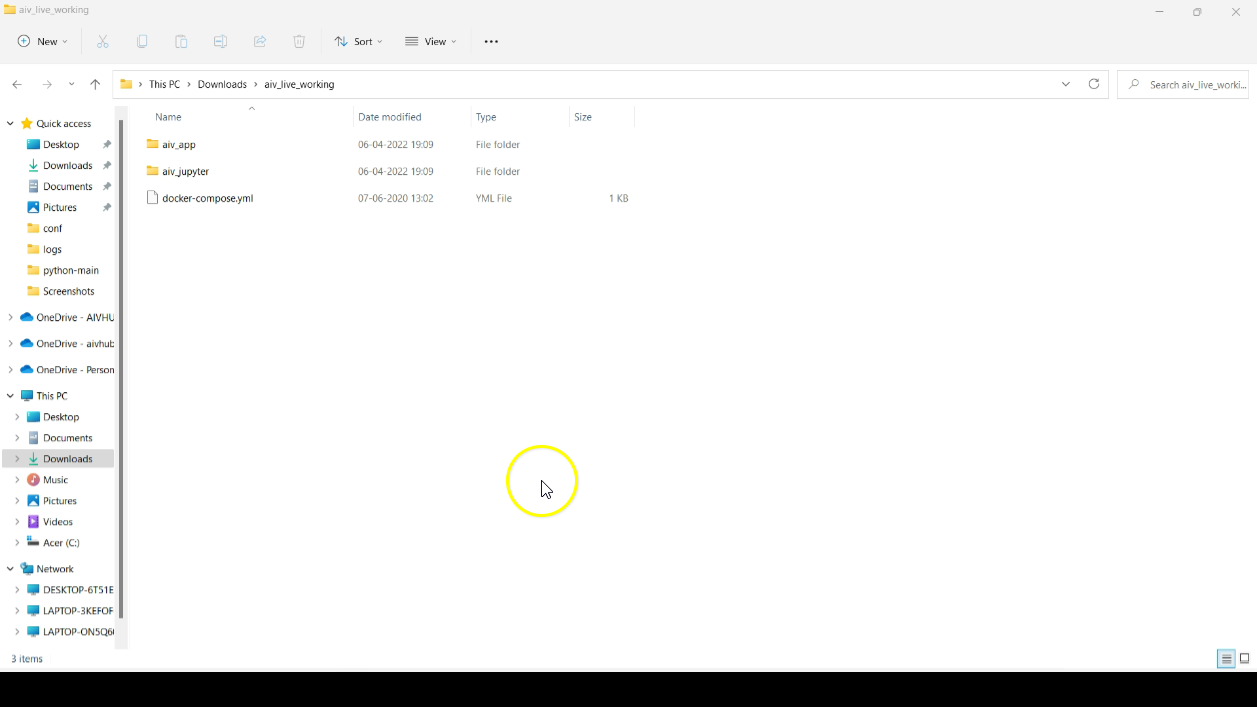
Extract sample project and go to specified directory. Here you will find 2 Projects and one .yml file
Open a PowerShell window and change path to specified directory
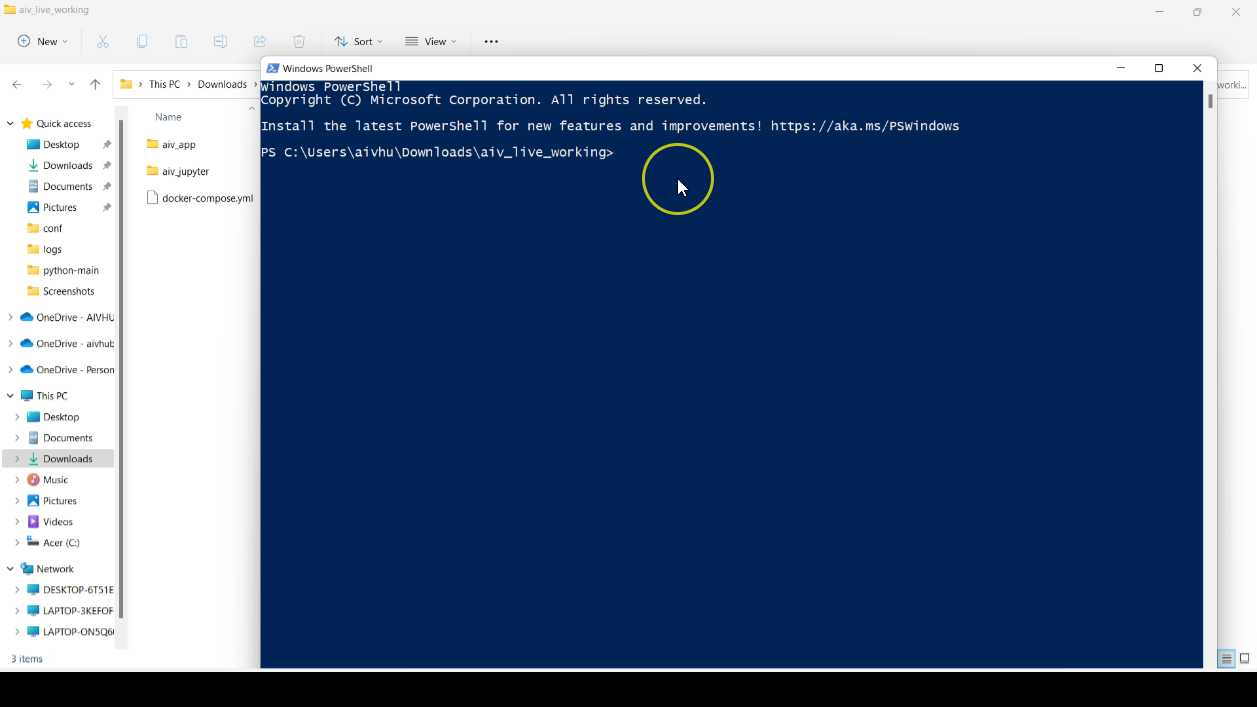
Run
docker-compose upcommand to build a simple Python web application running on Docker Compose
After running this command, it will download all dependencies required for python project and jupyter notebook. It will take some time to download and start notebook server

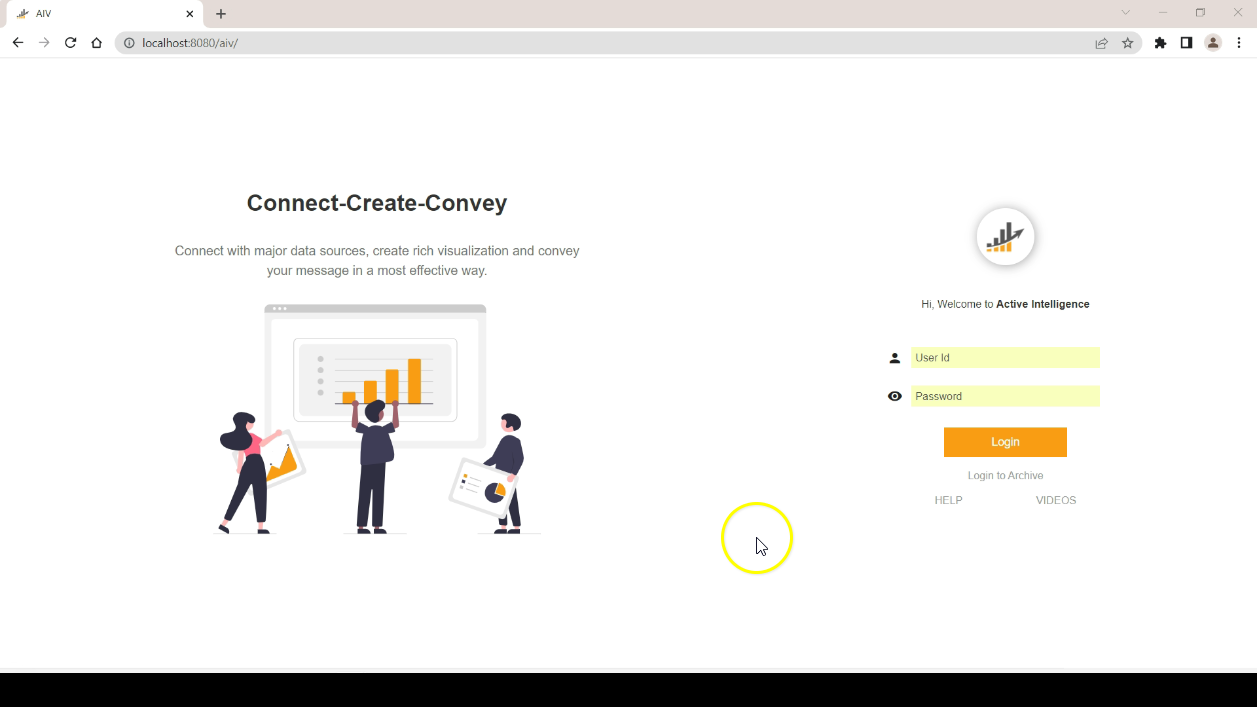
Once server is started, open AIV application in browser and login with valid credentials
After login, click on Hemberger menu and go to AIV configuration section
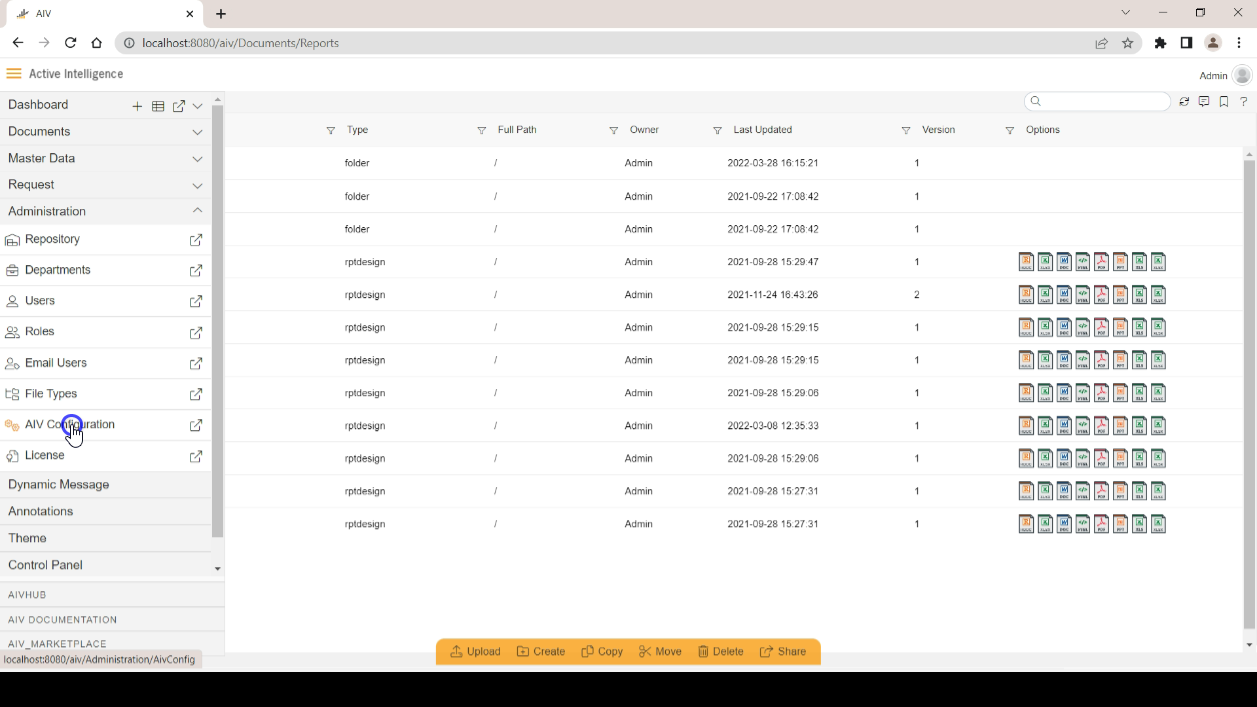
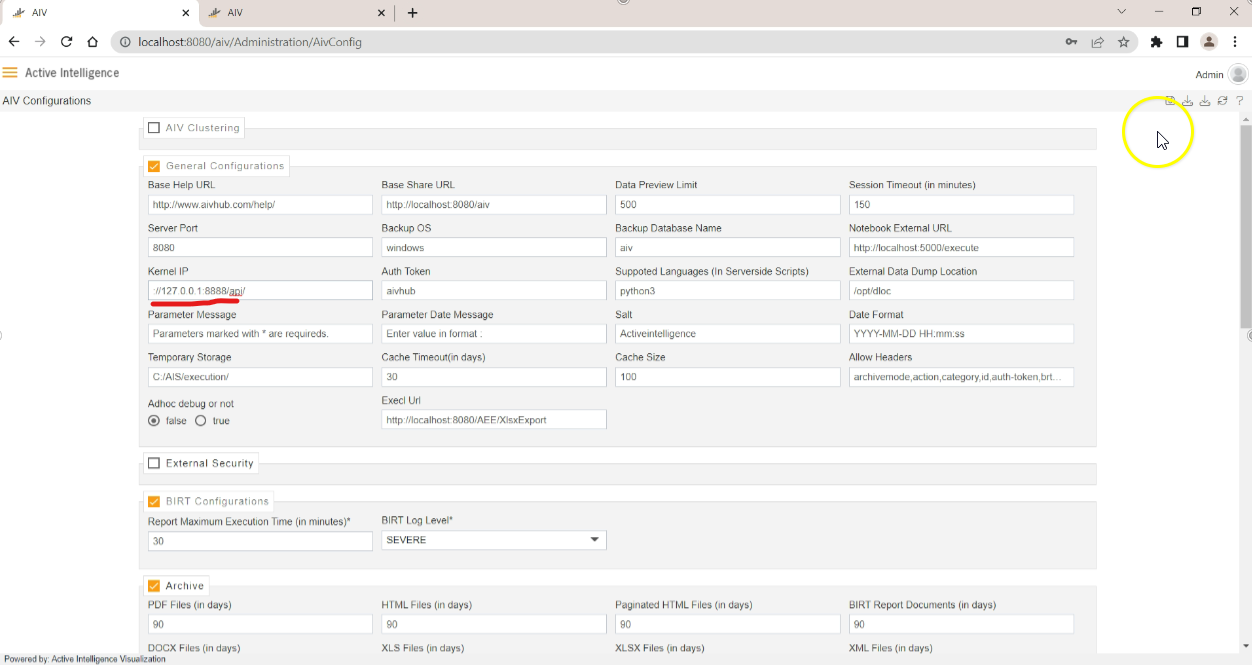
In Kernel IP setting Provide IP address 127.0.0.1 instead of localhost, click on save button to save the changes.
Go to dataset section to create dataset
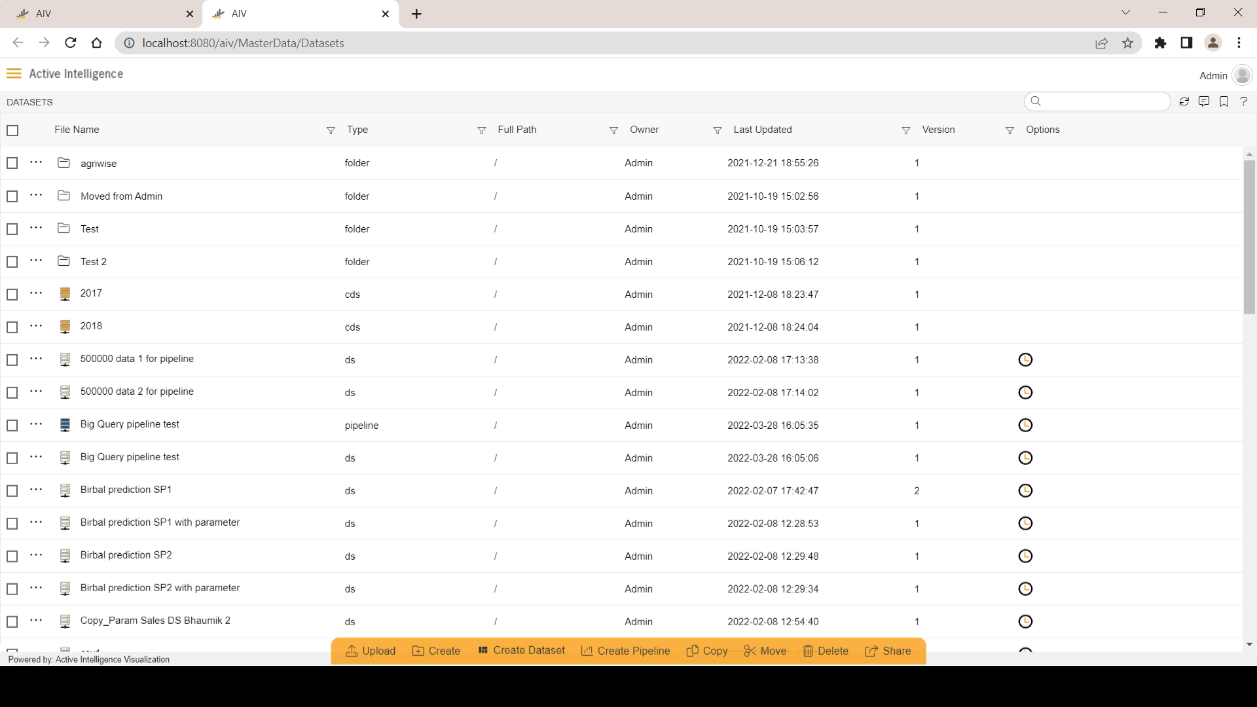
Click on create dataset button from the footer menu
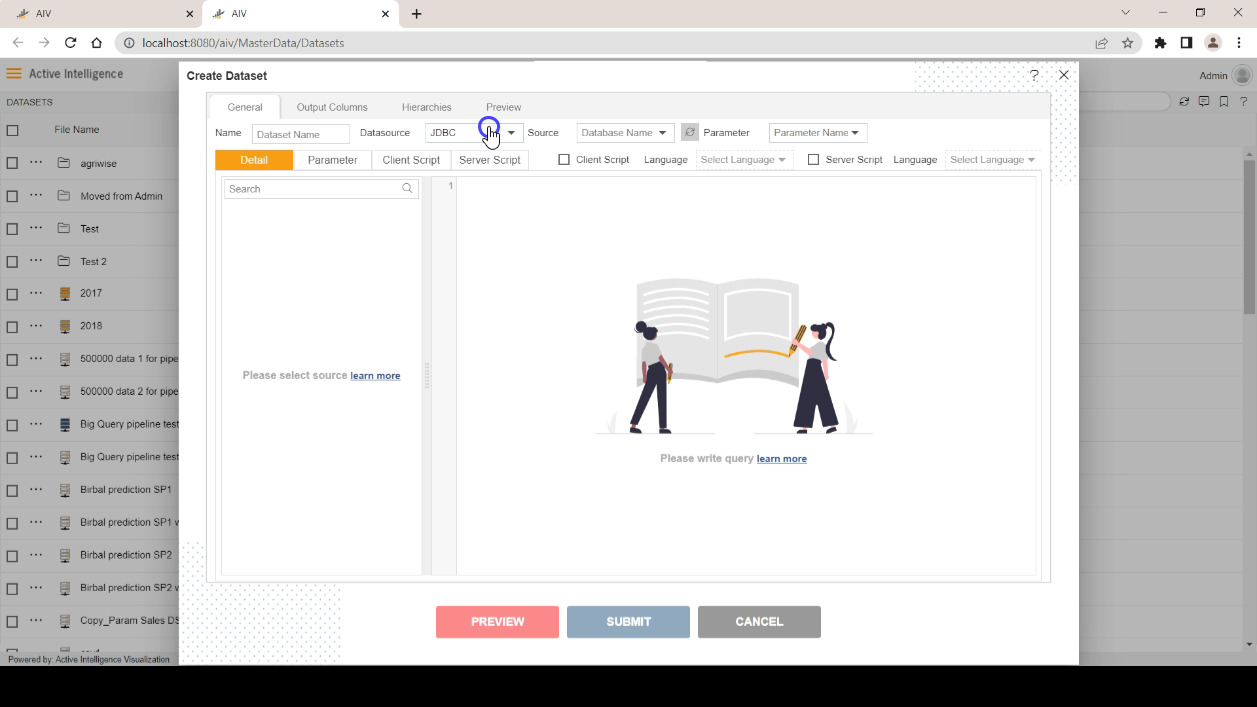
From Datasource dropdown select Empty dataset option. mark server script checkbox given on the top right side of the window. Once you select this checkbox in language dropdown python3 will be selected by default and user will be redirected to server script editor window.
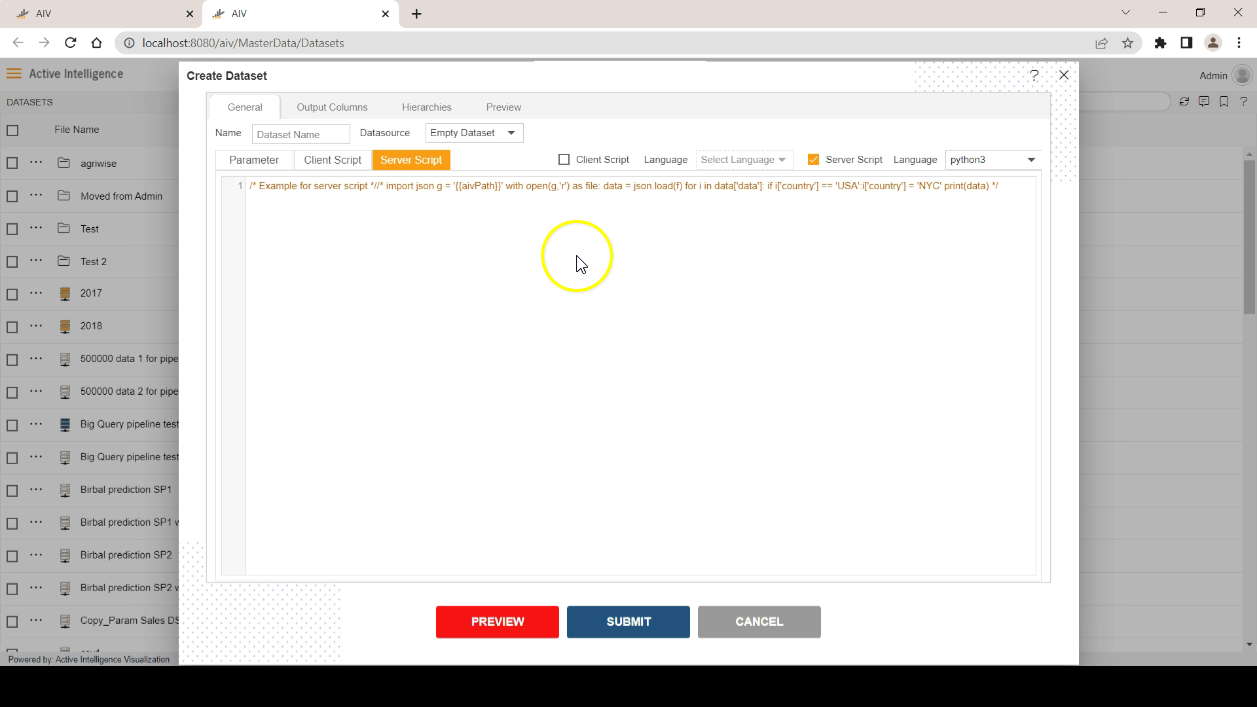
User can write python script here. for the demonstration, we have pasted sample python script in this editor.
 info
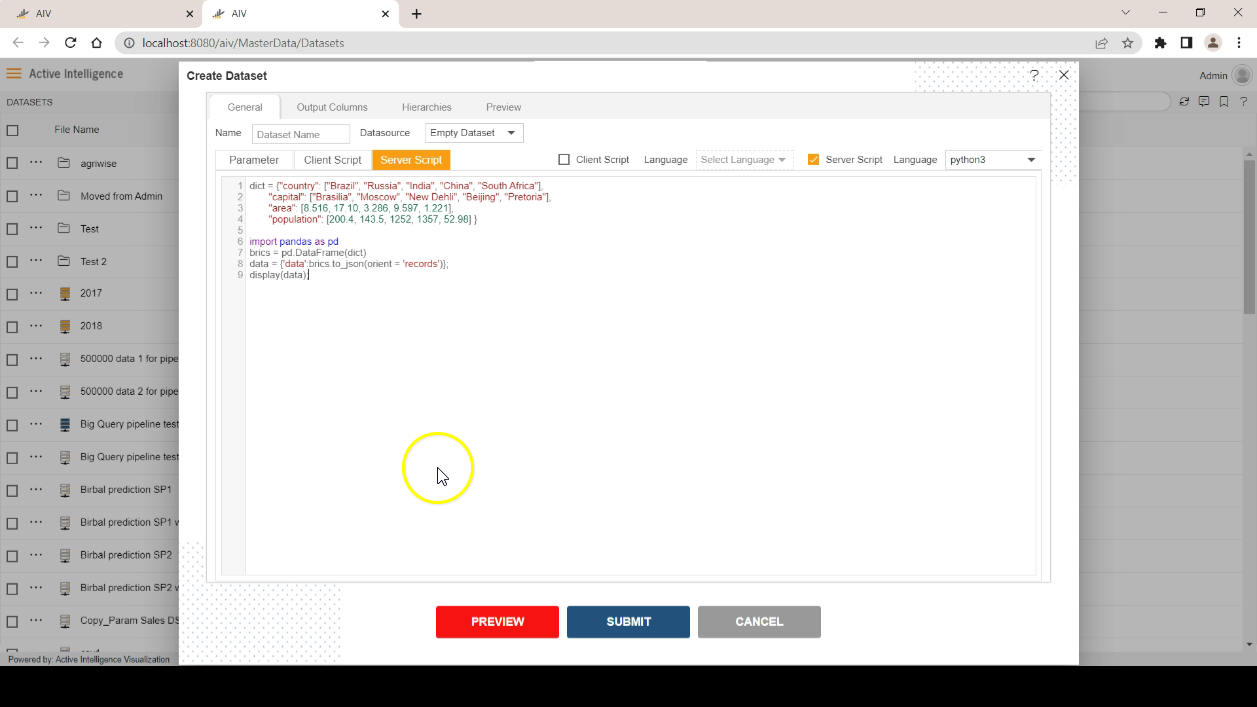
infoSample code used here is added below
dict = {"country": ["Brazil", "Russia", "India", "China", "South Africa"],
"capital": ["Brasilia", "Moscow", "New Dehli", "Beijing", "Pretoria"],
"area": [8.516, 17.10, 3.286, 9.597, 1.221],
"population": [200.4, 143.5, 1252, 1357, 52.98] }
import pandas as pd
brics = pd.DataFrame(dict)
data = {'data':brics.to_json(orient = 'records')};
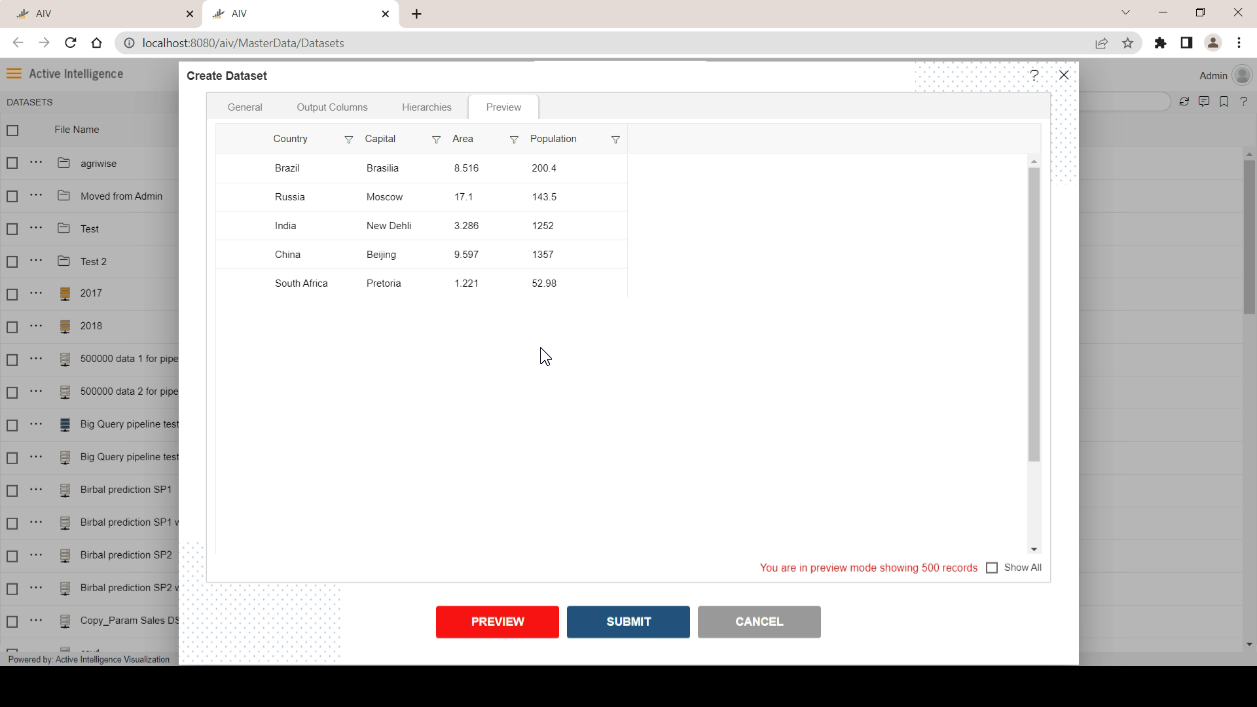
display(data);Click on preview button to execute script and get the data in preview tab
 info
infoIf you are not getting data in preview mode, go to AIV configuration section from Hemberger menu and match Auth Token value with AIV_TOKEN value available in docker-compose.yml file provided with sample project. If token provided in yml file not match with Auth Token, user need to change token of .yml file as per Auth Token given in AIV configuration.
Go to general tab and provide a dataset name and click on submit button to save this dataset.
Once dataset saved successfully, user can use this dataset to create visualizations and reports in AIV.
ii). Using existing jupyter
If you already have jupyter in that case you have to make some changes in jupyter configuration as below;
c.NotebookApp.token = 'aivhub' [if you already have token then just configure in AIV configuration]

c.NotebookApp.password = '' [if required]

c.NotebookApp.allow_origin = '*' [as per your requirement]

c.NotebookApp.disable_check_xsrf = True

c.NotebookApp.notebook_dir = '/home/jovyan/work' [as per your requirement]

c.NotebookApp.open_browser = False
iii). Using separate jupyter
If you want separate jupyter in that case please follow below steps;
As per your requirement, user can select required image file for jupyter from below link;
https://jupyter-docker-stacks.readthedocs.io/en/latest/using/selecting.htmlA. docker pull jupyter/base-notebook:latest
B. docker run -it --rm -p 8888:8888 jupyter/base-notebook start-notebook.sh --NotebookApp.token='aivhub' --NotebookApp.password = '' --NotebookApp.allow_origin='*' --NotebookApp.disable_check_xsrf=True --NotebookApp.open_browser=FalseAnd it will work directly with AIV.