Annotation widget Hover
- This document contains the information on how to use annotations from the widget hover icon. from the annotation, the icon user can annotate using lines, add a custom text, add image, and download these changes in various output formats.
Objective
- Use Annotation from the Widget Hover Icon
Prerequisite
Used Annotation_Widget_Hover from dashboard.zip for this example.
Download dashboard.zip file from link given dashboard.zip.
After downloading the zip file, Open Preview-Edit_Dashboard & upload Test Dashboard dash file to Dashboard & Sales.cds into Master Data --> Dataset Section of AIV. To add it into AIV follow this Link.
Decimal values in chart tooltip: This video contains how to create an annotation in a chart widget in AIV.
Steps to use Annotation for Widget Hover
log in to AIV using valid credentials.
Create a new dashboard and prepare any widget by following this link.
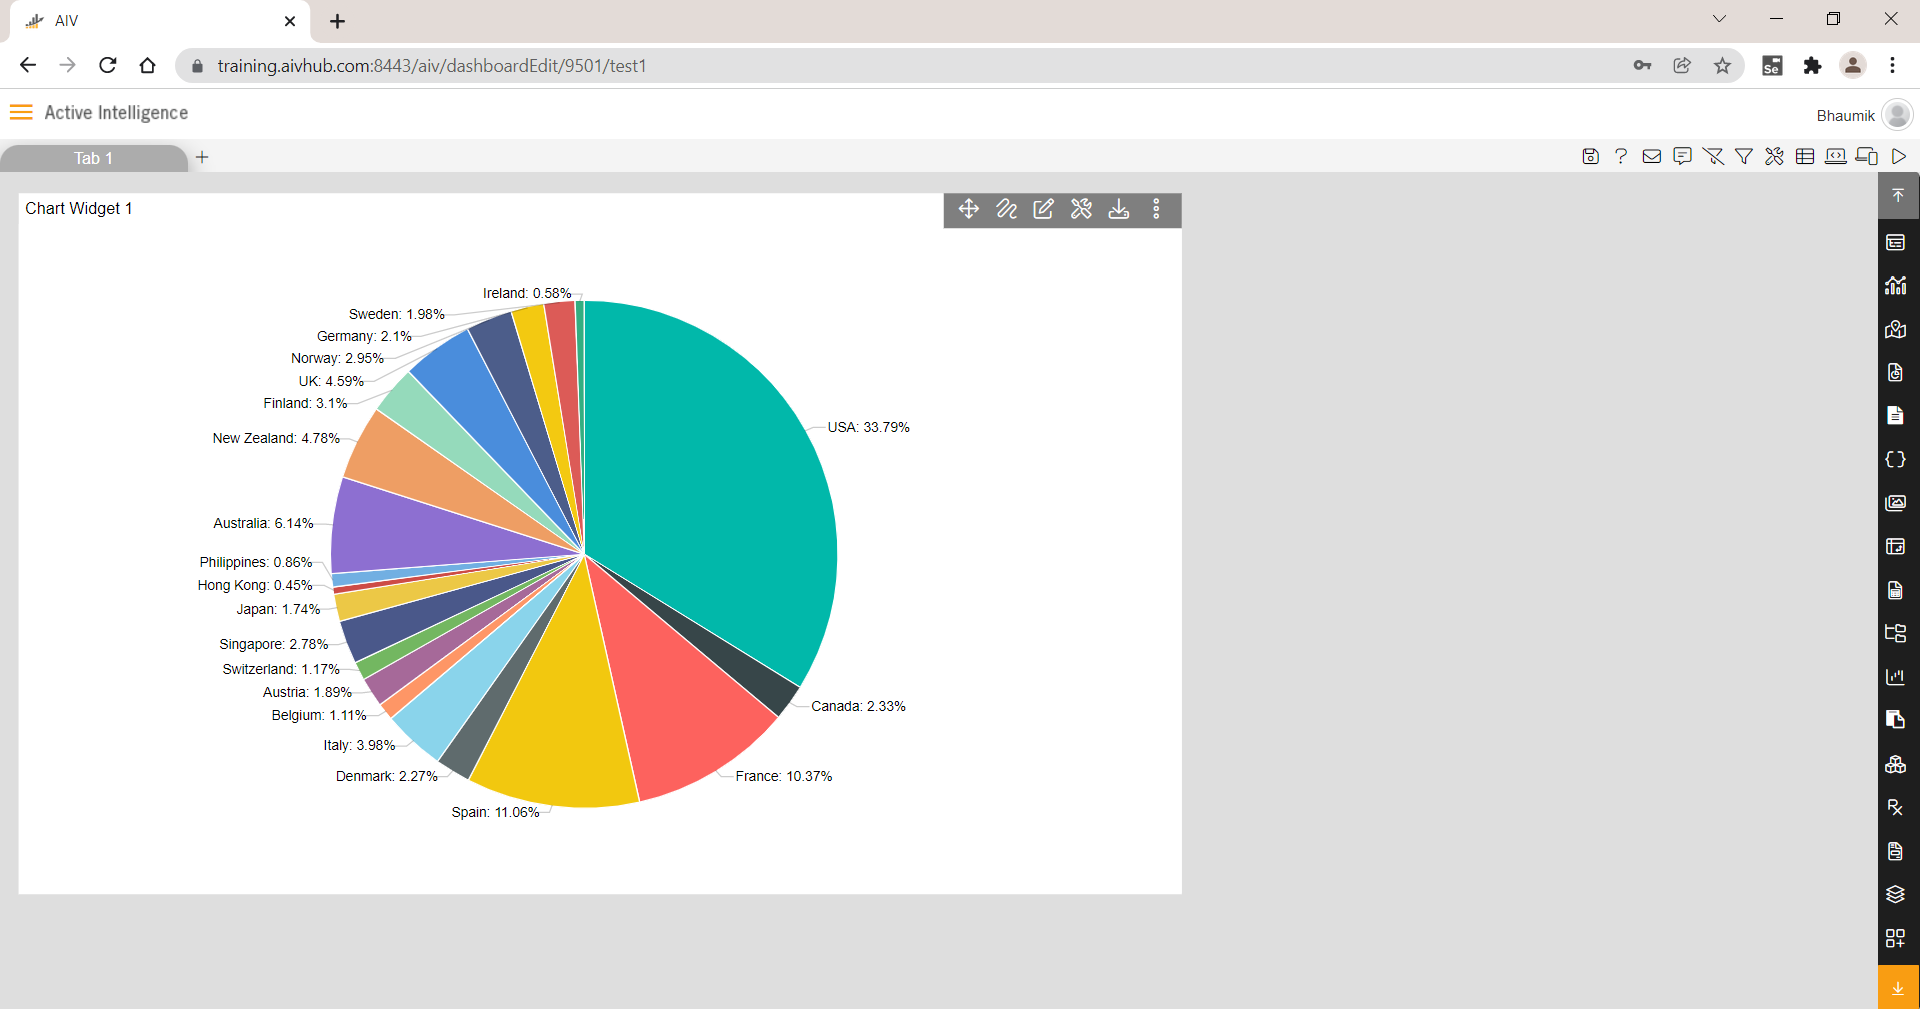
For this example; we are explaining it using a pie chart named test1.
Use link to download dependency files for this example.
Go to the edit mode of test1 Dashboard by following this process, it will open the dashboard as shown below:
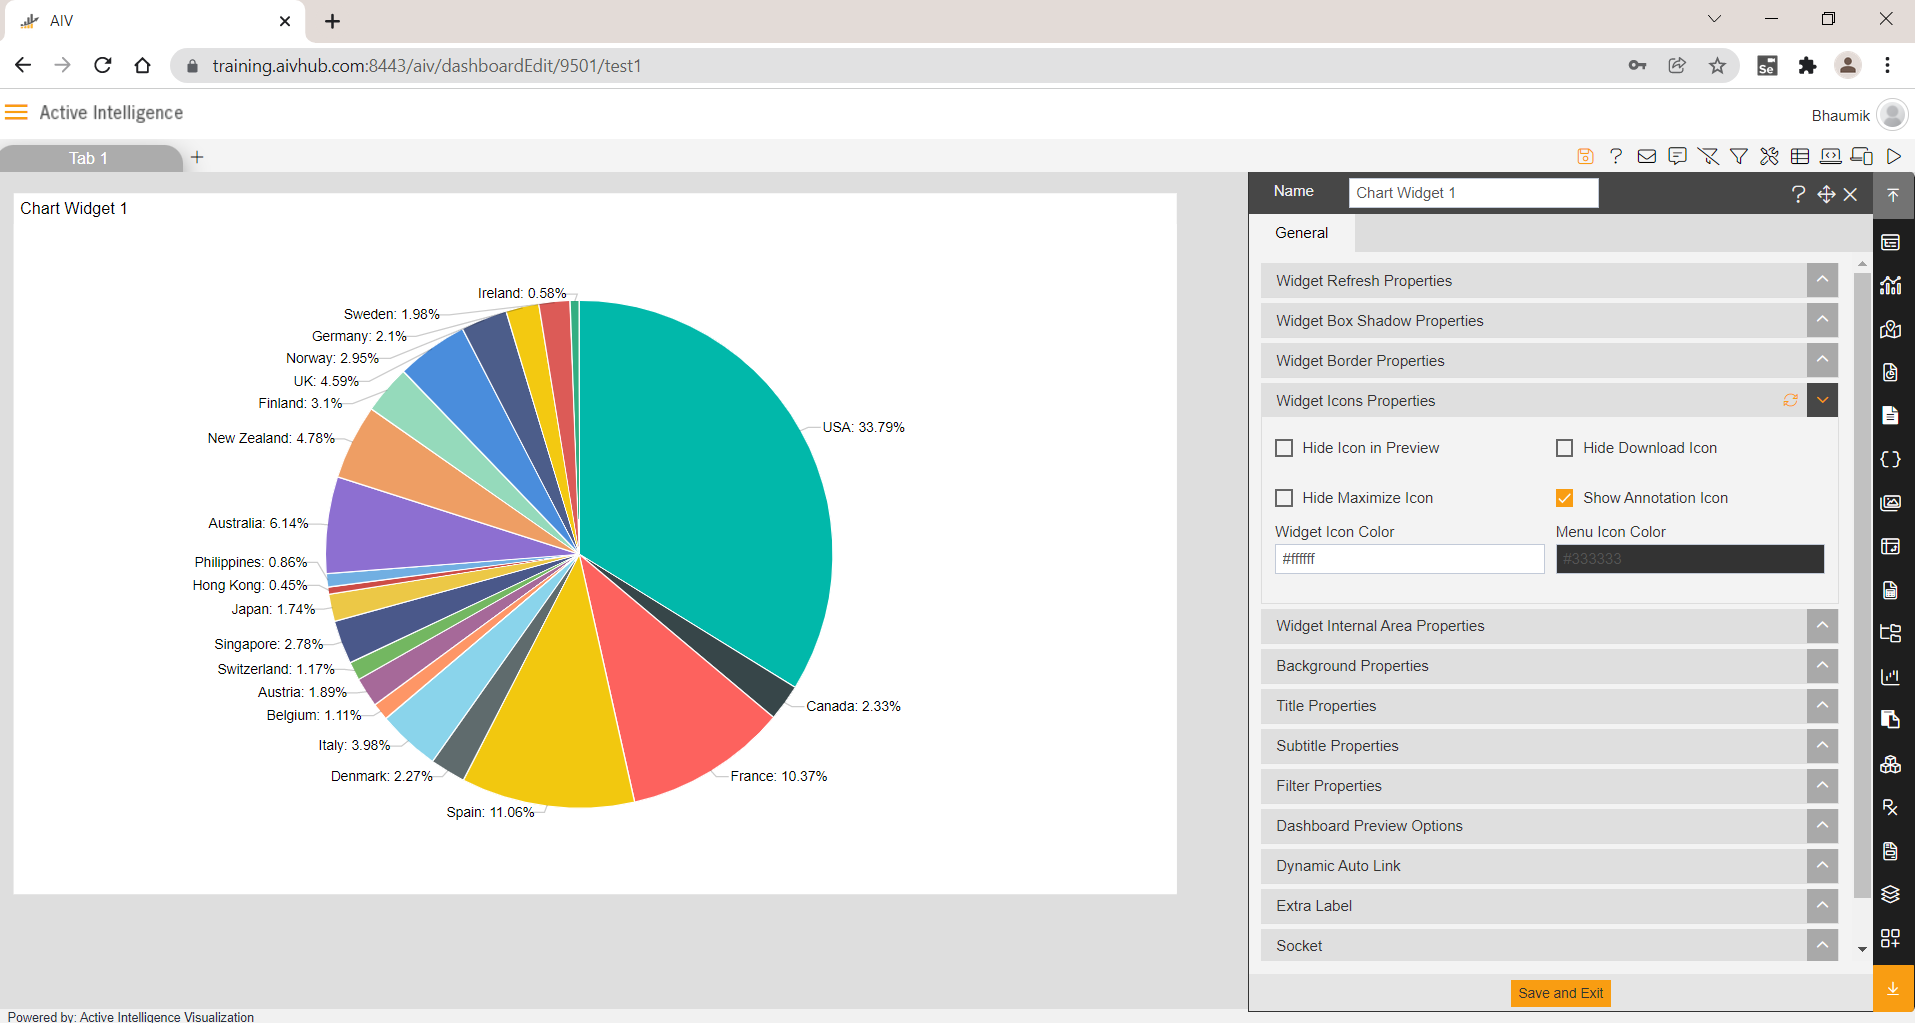
To use the annotation icon in preview mode, click on the setting icon of widget > go to widget icon properties > uncheck the Hide icon in preview & make sure show annotation icon checkbox is selected by default.
Click on the save and exit button to save it and go to dashboard preview. (Click here to see the steps to go to preview mode)
When you hover on the widget you will see an annotation icon as shown below:
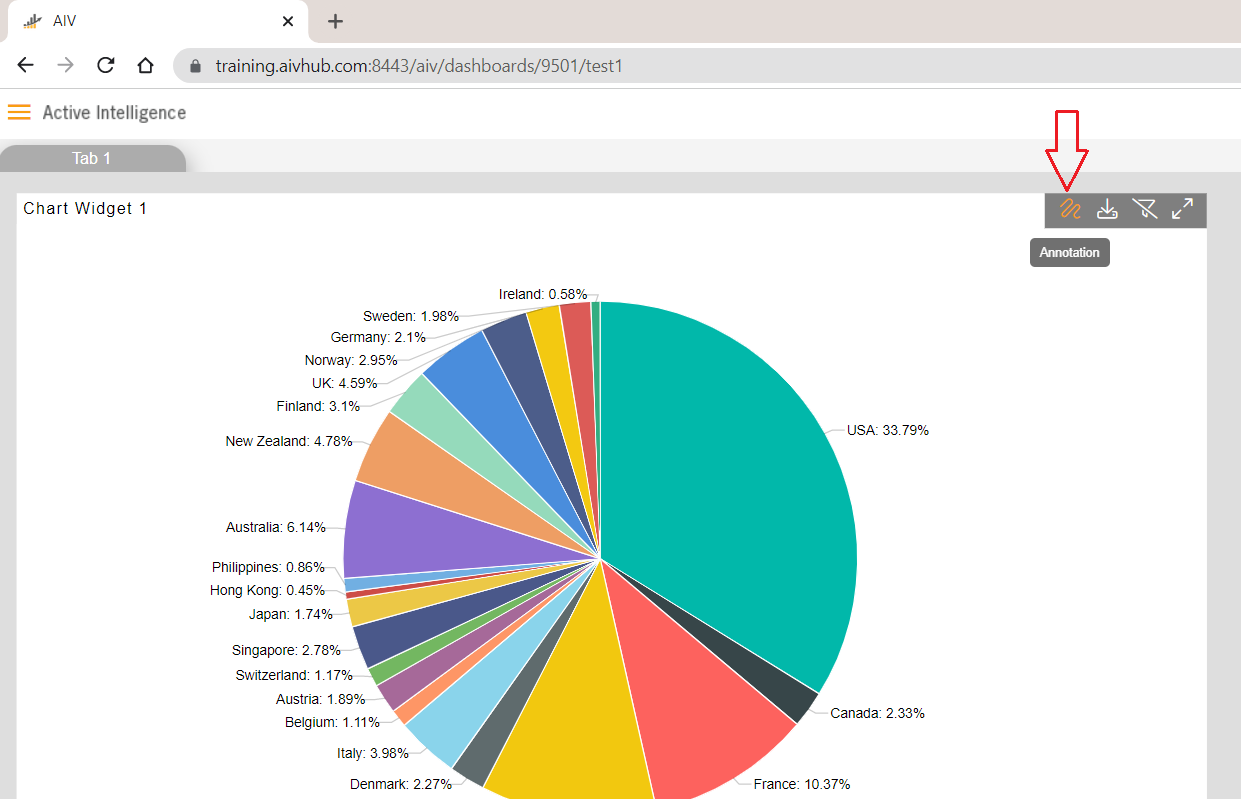
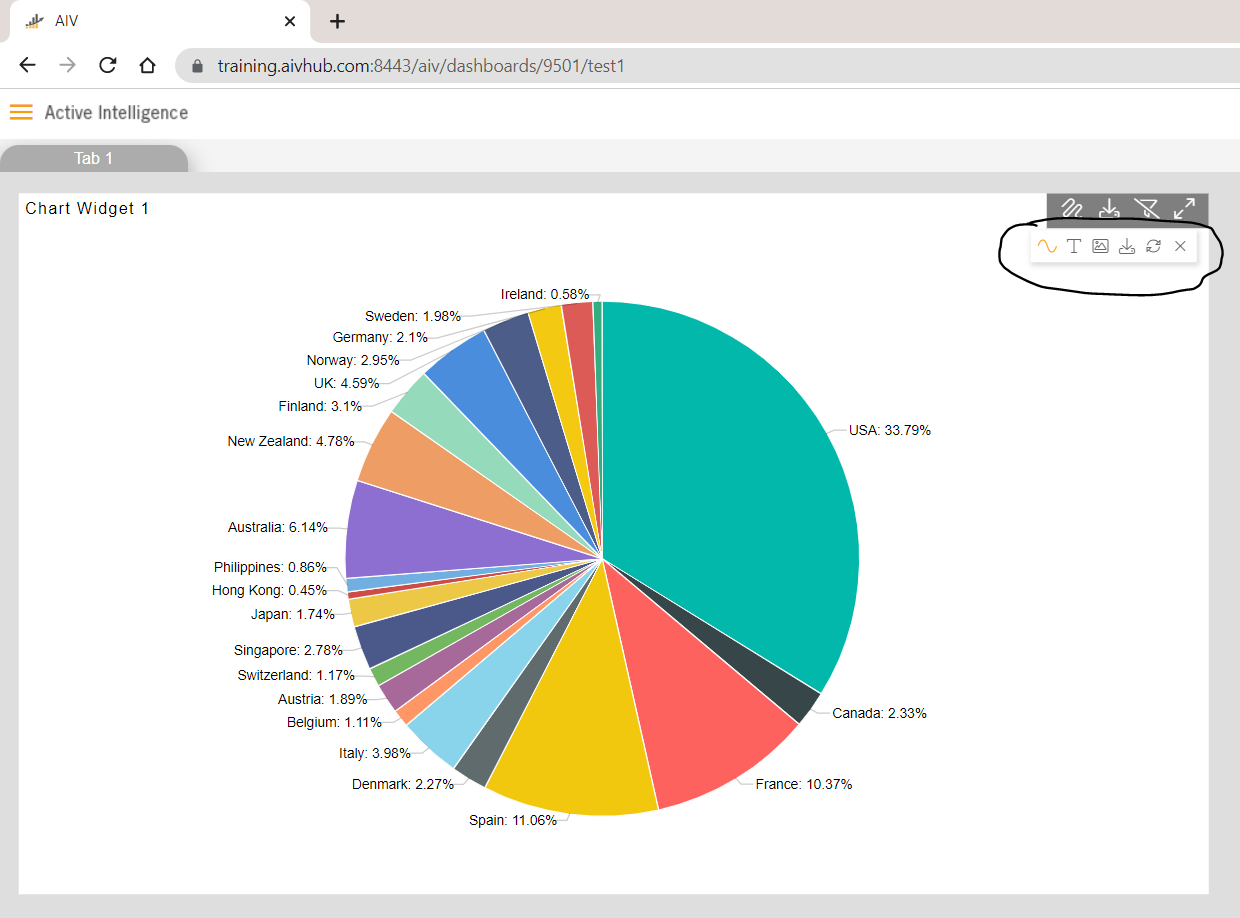
when you click on the annotation icon, you will see various options listed as;
- Annotate
- Text
- Image
- Download
- Reset
- Cancel
Just hover on these icons and you will see a tooltip for every option.
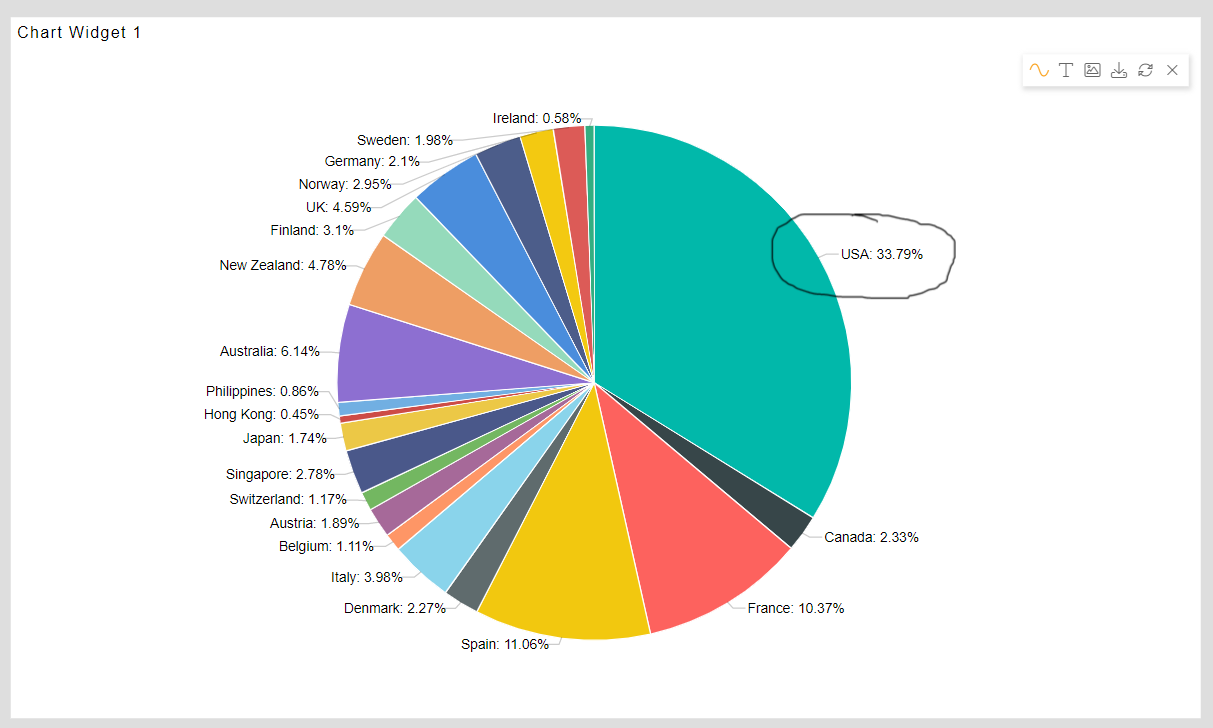
Annotate
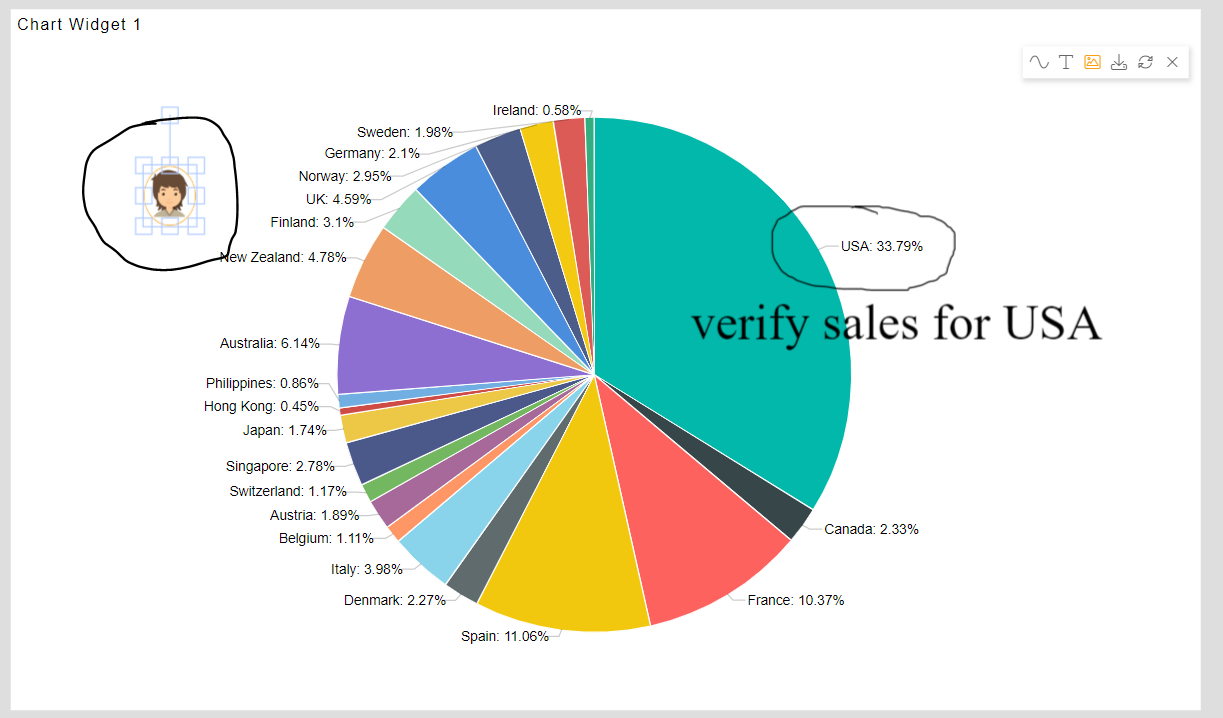
- By Default, annotate option is selected, by using this you can highlight a specific portion of the widget just by drawing over it. To annotate over country USA, press the left click of a mouse and just draw as you want.
Text
- To write custom text, click on the Text icon from the annotation list and a sample text field will be added on the widget area as shown below screen.
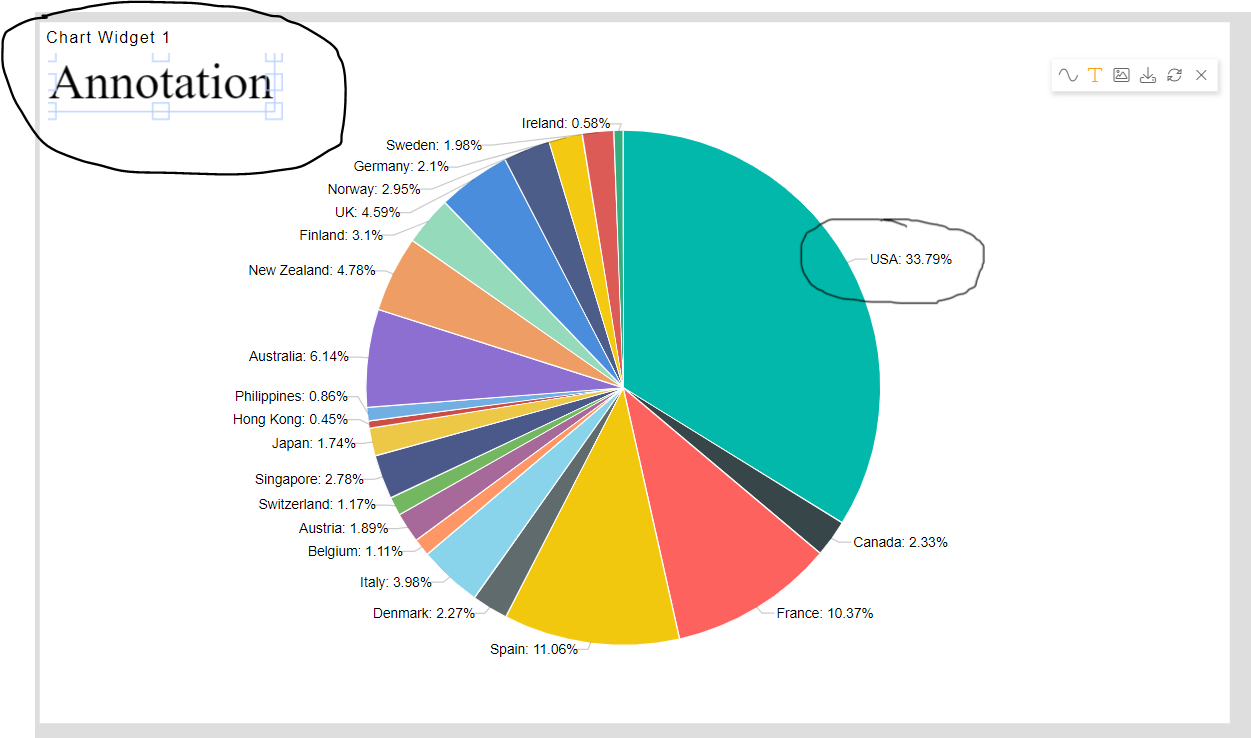
- Just select that text and you will see a cursor blinking in that text box, just write down any text you want as shown below the image. Also, you can drag and drop this text box at any location.
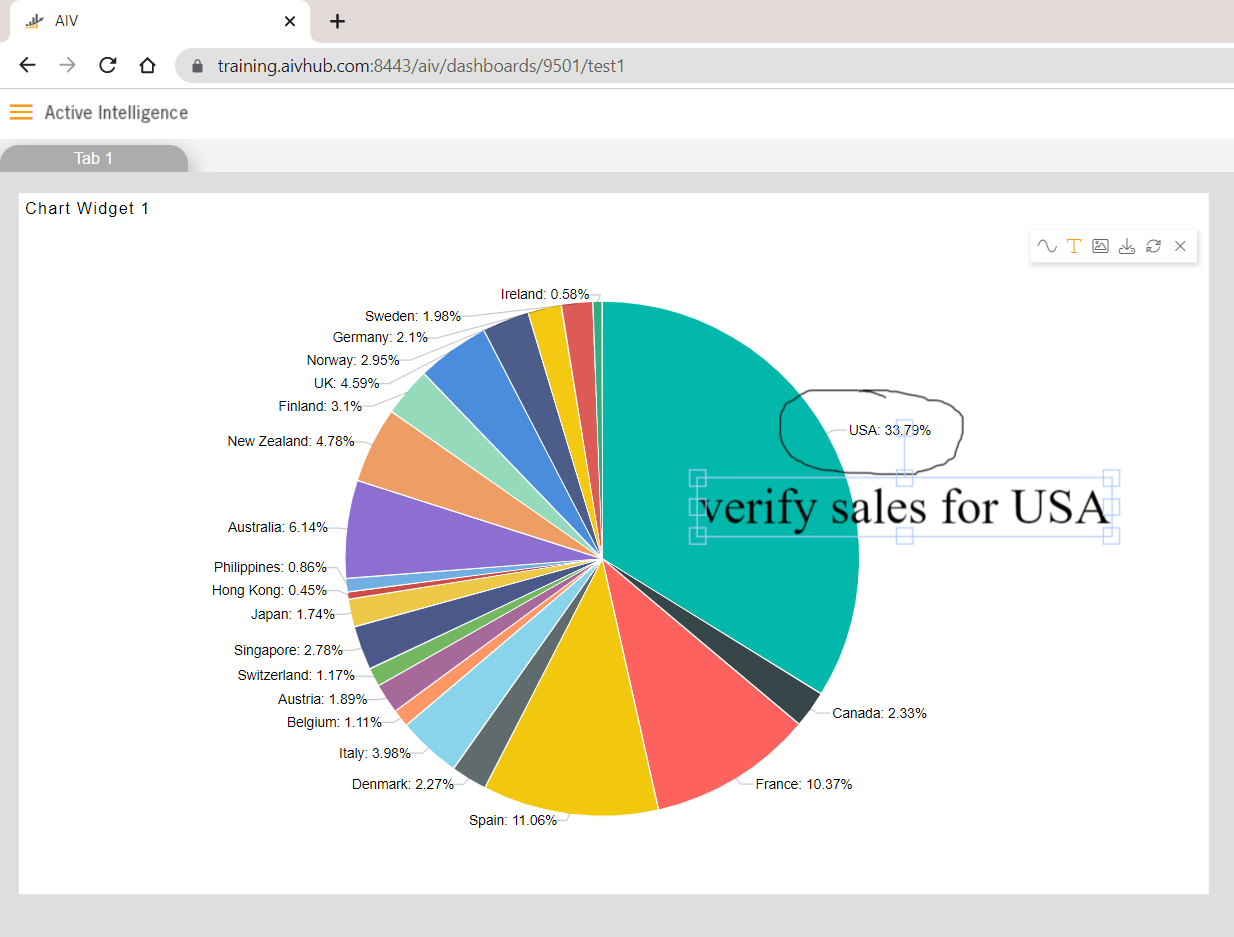
Image
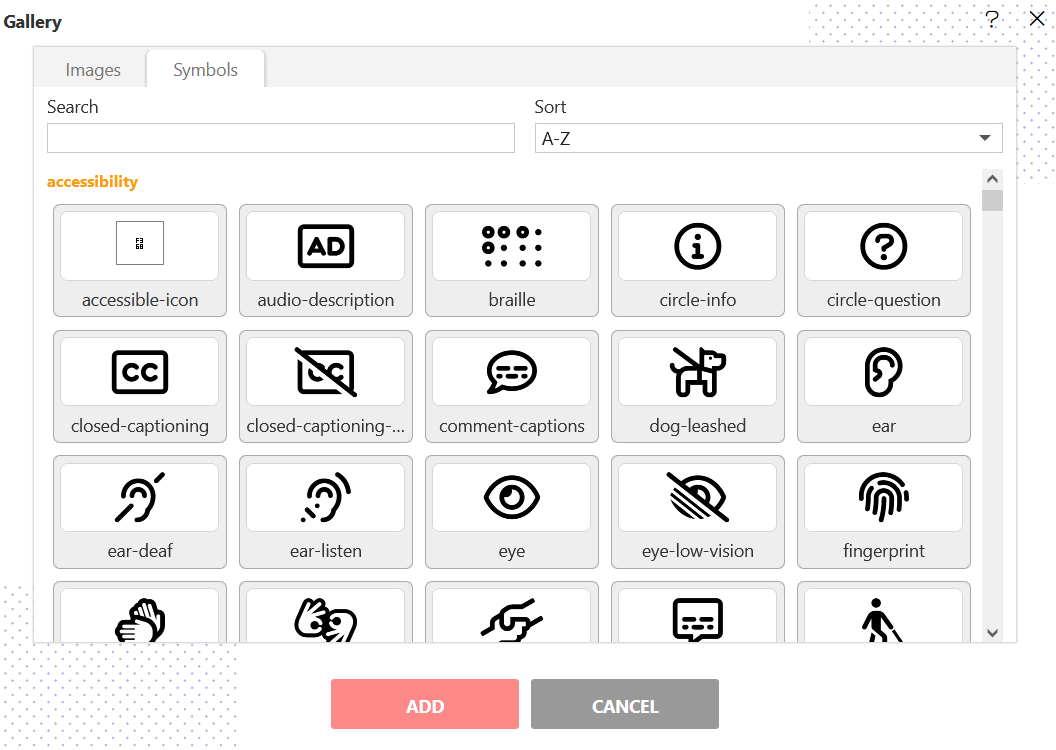
Next icon is an image when you click on the image icon, a gallery window will open, in that window, you will see 2 options, one is to select an image from the symbol library available in AIV and the other one is images already uploaded in AIV.
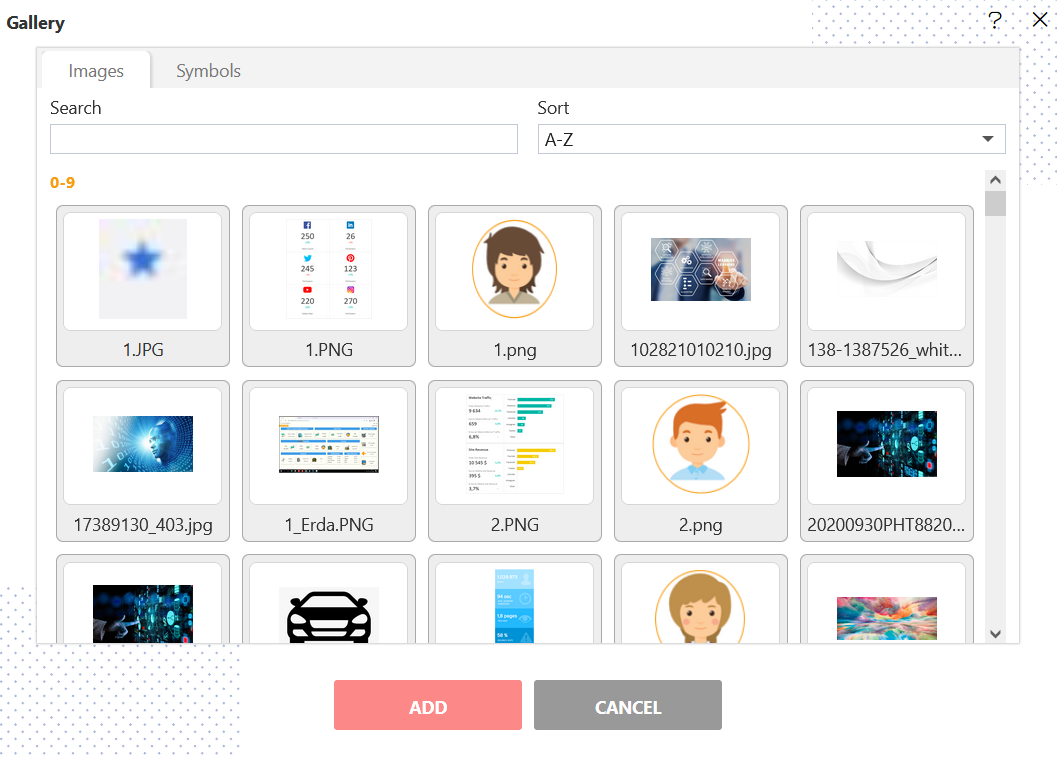
User can search and add required image here, just select one image and click on Add button, and the image is added in widget area as shown in below image:
User can also move this image using drag and drop at the required place.
Download
Next is the download icon, using this feature, the user can download the image and data used in this widget. There are many options to export these changes with a widget in the image and export underlying data as a full and aggregated form in CSV and Excel format as shown below image.
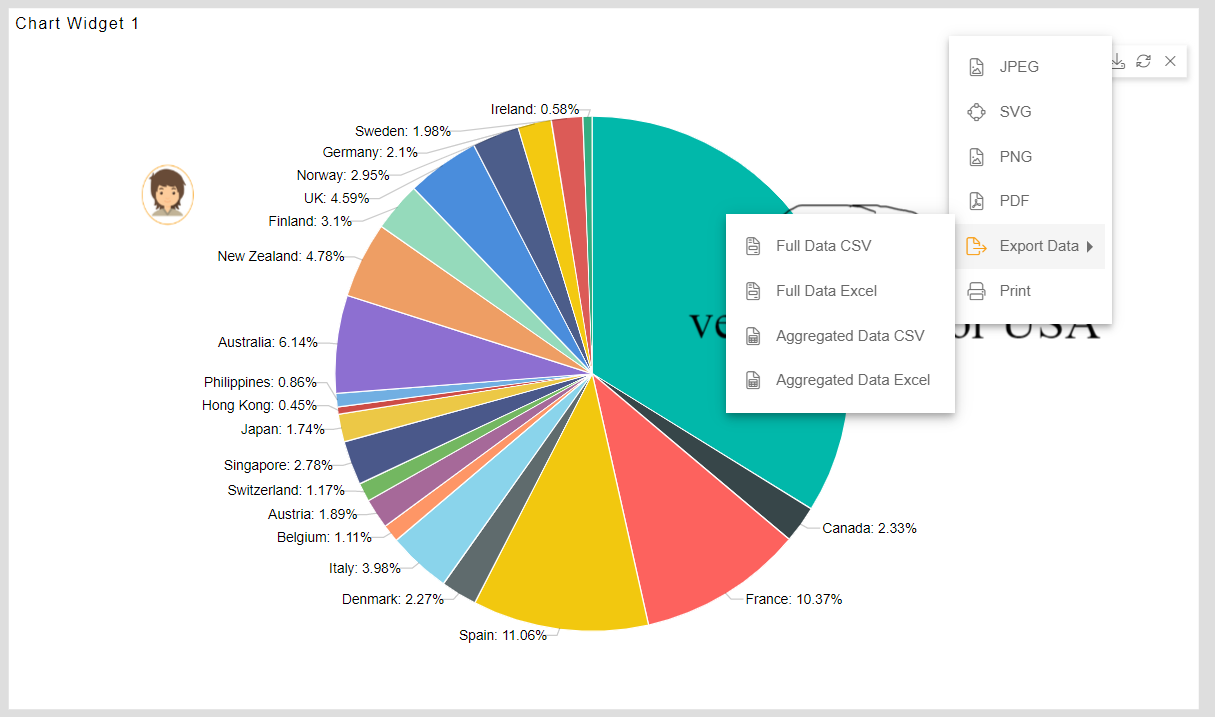
- Export data options depend upon the type of widget used.
Reset
Next is a reset button, when clicked, all the changes applied using annotation options will be removed as shown below image:
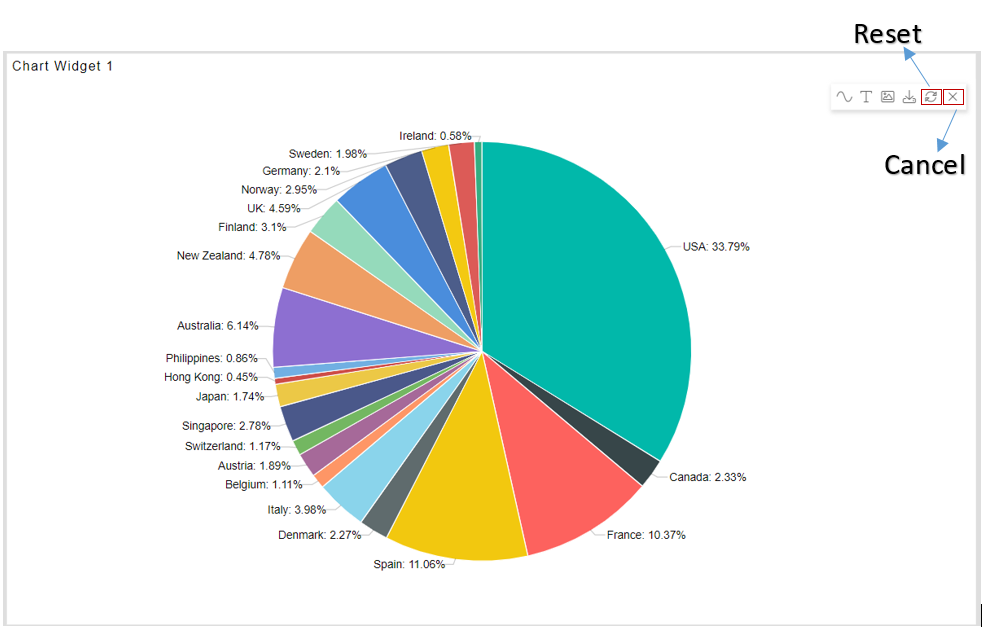
Cancel
- And if you want to close these annotation options from the preview, just click on the cancel button as shown in the above image and the annotation list will be closed.