Add the table in document
Introduction
The Table feature let us to create the table in the document, it provide the feature to add the required nunmber of rows and column we required.
Follow the steps to add the table in the document widget:
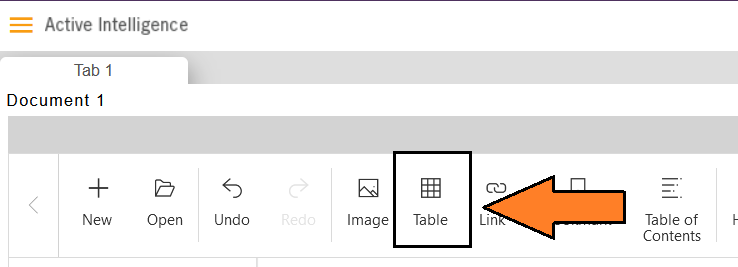
- Click on the table icon, as shown in the figure below:
- Add the number of rows and columns from the insert table dialogbox, as shown in the figure below:

Add the numbers of rows and columns of we can add the numbers by using the up and down arrow in the number fields, after adding the numbers click on the OK button.
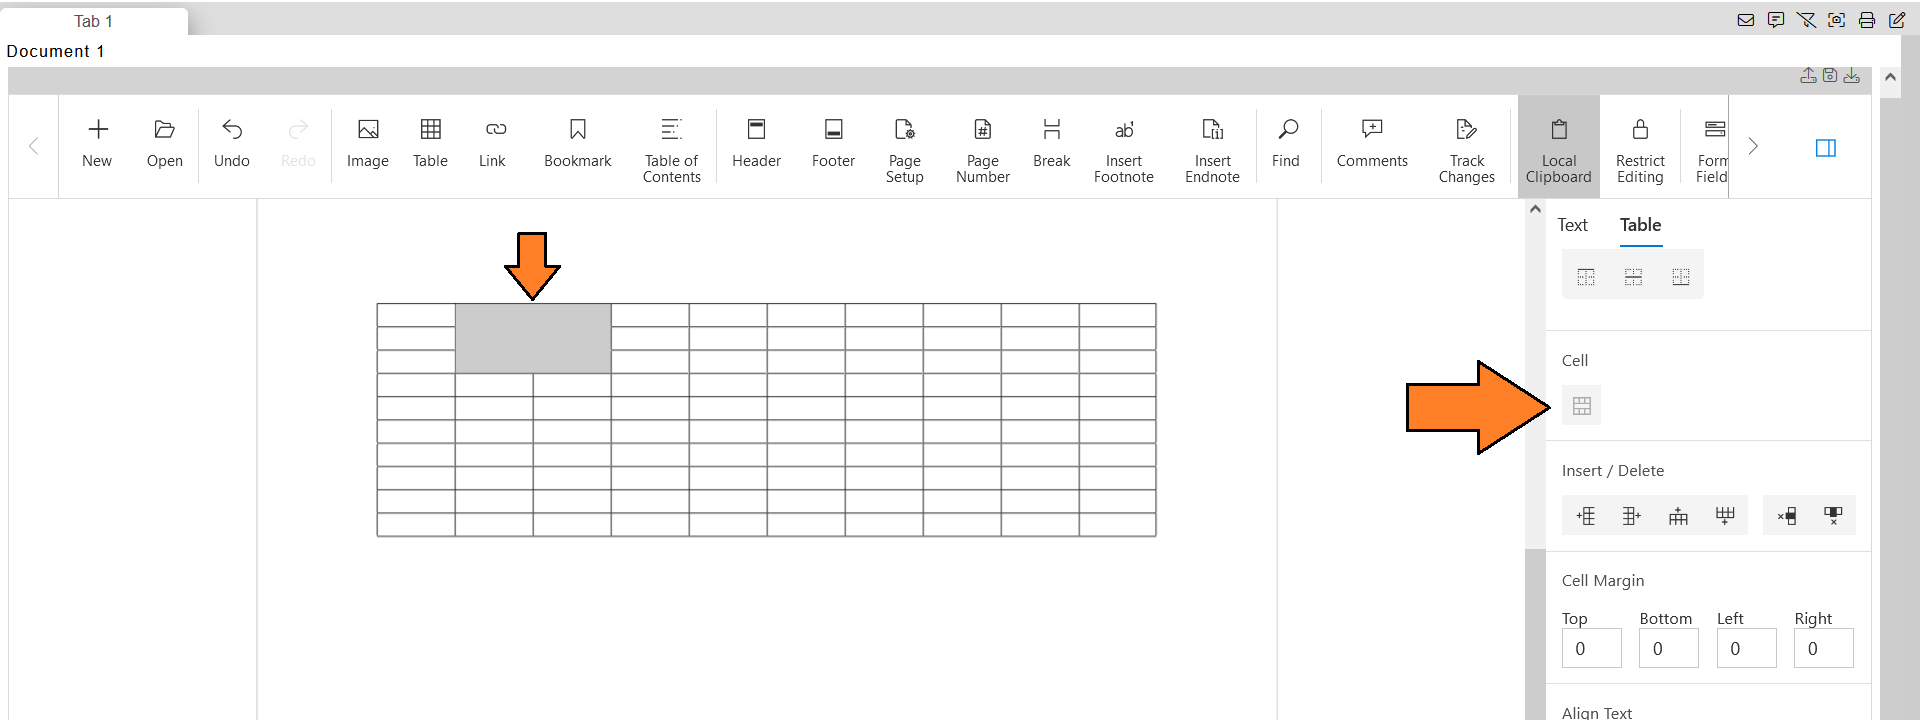
As you add the table to the document widget, the table settings appear on the right-side of the widget, as shown in the figure below:

- These controls let you add the color, border, insert or delete cells, merge cells, Alignment, and margins between the cells.
Color fill
- To add the color in the cells of the table, you can use the color fill feature.

- By clicking on the fill icon we can choose the color from the palette, as shown in the figure below:
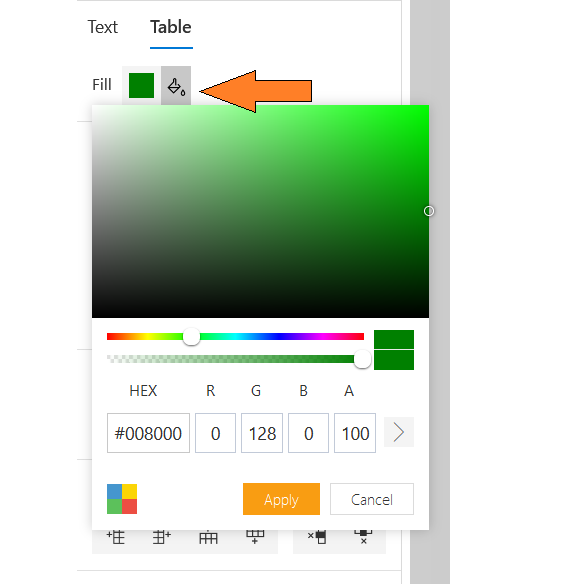
- You can add the hex code to choose the color and can use a color picker pointer to get the required color then click on apply button after choosing the color.
Border style
- To add the border on the table's cells, we can use the border style feature, here you get the verity of the border styles.

Here, we have nine type of border styles and we can also add the color on table borders.
Border style provide the widget setting from the border widget, you can increase or decrease the widget of border as required.
Merge cells
- The merge cells feature is disabled by default untill we select multiple cells from the table.

- To merge the cells, select multiple cells together and click on the merge cells button then you'll see the cell merged as shown in the figure below:
Insert / Delete
- The insert and delete provide the feature to add the rows and columns or delete them as required.

To insert the row, click the insert row buttons.
It provides you the feature to add the rows above or below your current selected row.

- To add the column, click on the insert column to left button / insert column to the right button, as shown in the figure below:

- From the last two button, you can also delete the entire row and column from the tab.
User can right click on the table and can add the rows and columns in the table too.
Cell Margin
The cell margin provide us the feature to add the margins in the selected cell.
You can choose the margin in all four directions, left to right or top to bottom.

- The margin is measured by px(pixals), as we add the 10px in all the direction, the table cell gets the 10px of margin in all the directions, as shown in the figure below:

- Output:

